




Frequently Asked Questions
To send your first email campaign, you first need to set up your email address and domain, so it's ok for Mail Designer 365 Delivery Hub to send emails on your behalf.
There are a few technical steps involved during setup. These steps are crucial, as leading email service providers will check that DKIM, SPF and DMARC authentication are configured in order to prevent spam.
Rest assured we've done all we can to make the setup process as simple and fuss free as possible for you. We recommend that you add all three methods to your domain so that your emails reach all recipients. If you require assistance at any point, reach out to your IT admin or get in touch with our support team.
Ready? Let's get started!
Step 1: Add and Verify your Email Address
Before you start, make sure that you have already set up a Mail Designer team. (If you have not done so already, check out our easy team setup guide).
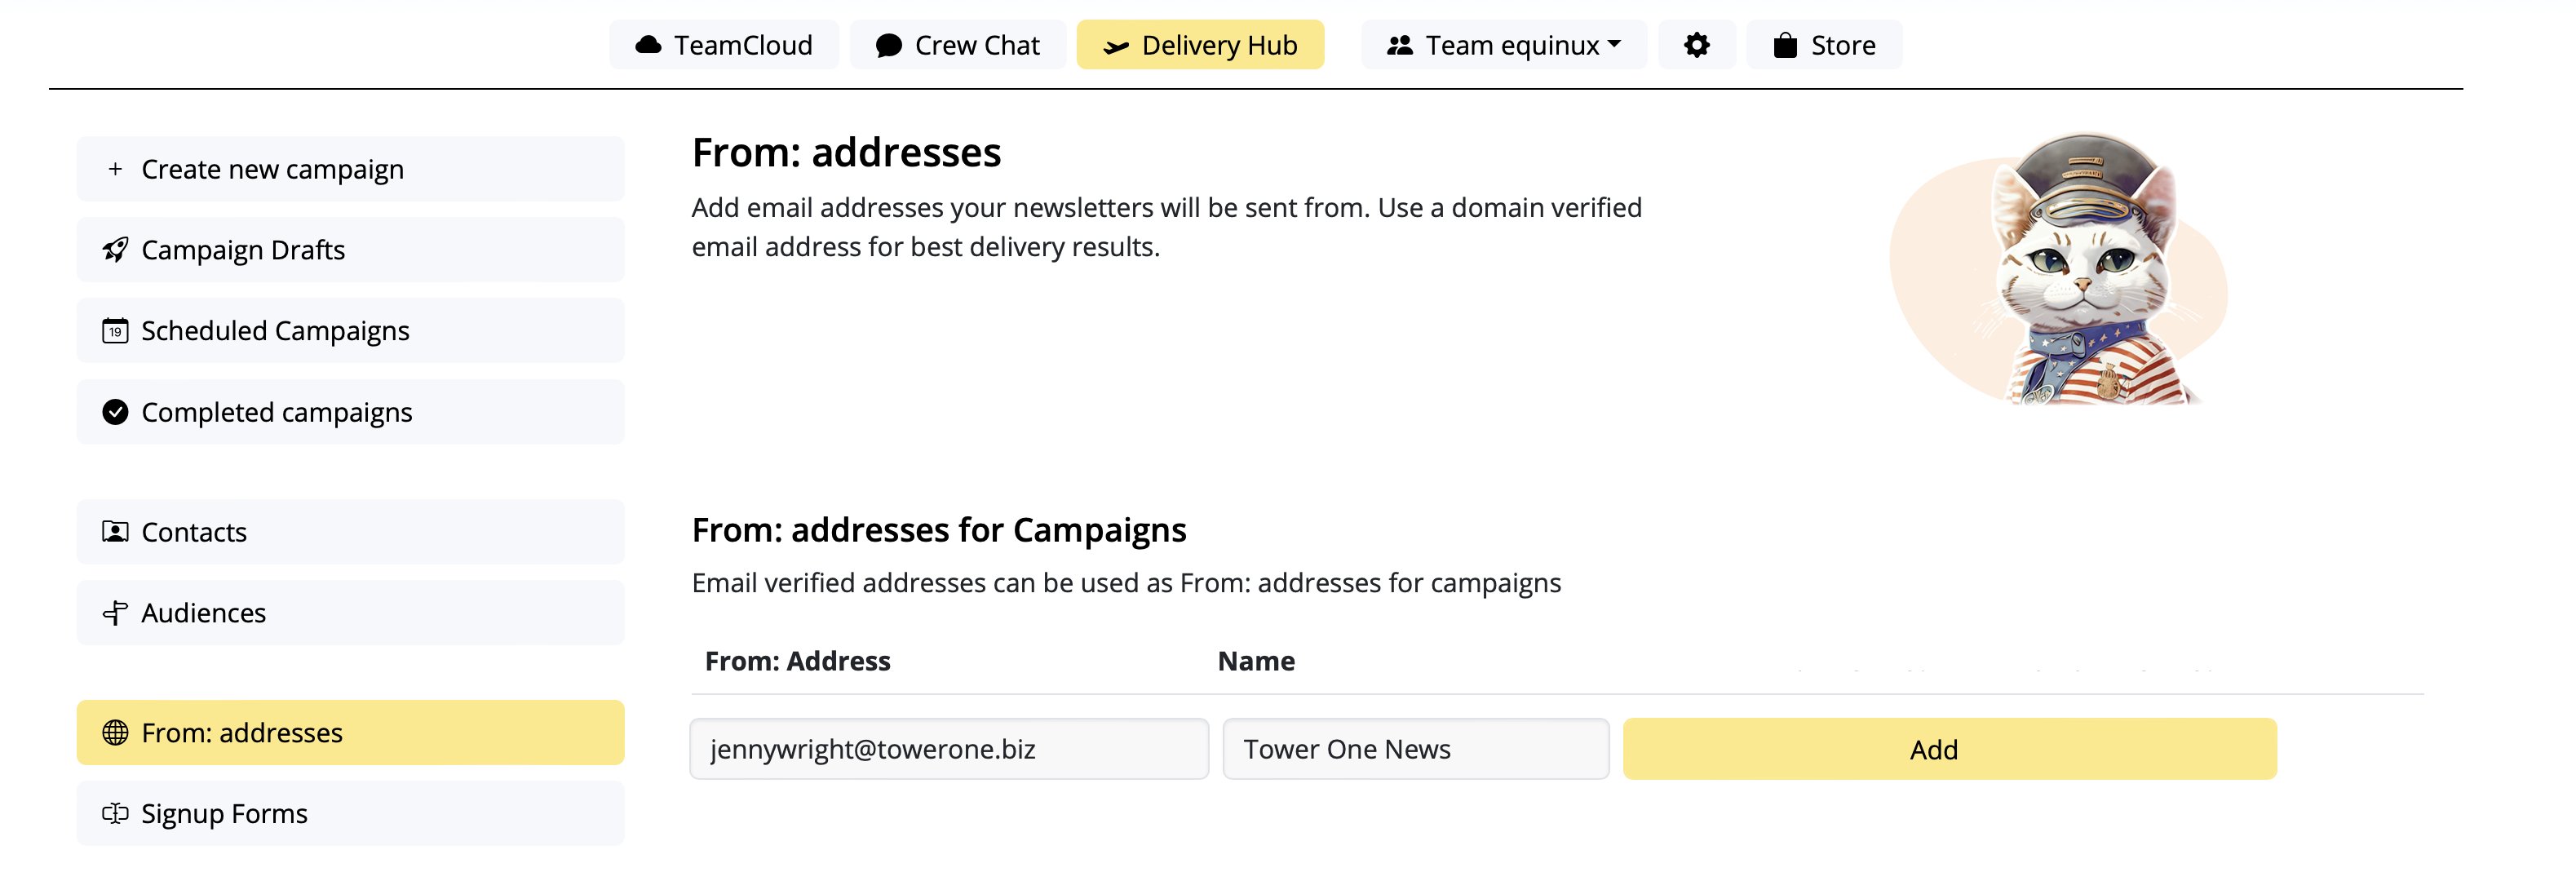
- Go to Settings > "From: addresses"
- Under "From: addresses for Campaigns", add a new sender by entering the "From Name" and email address your campaign will be sent from
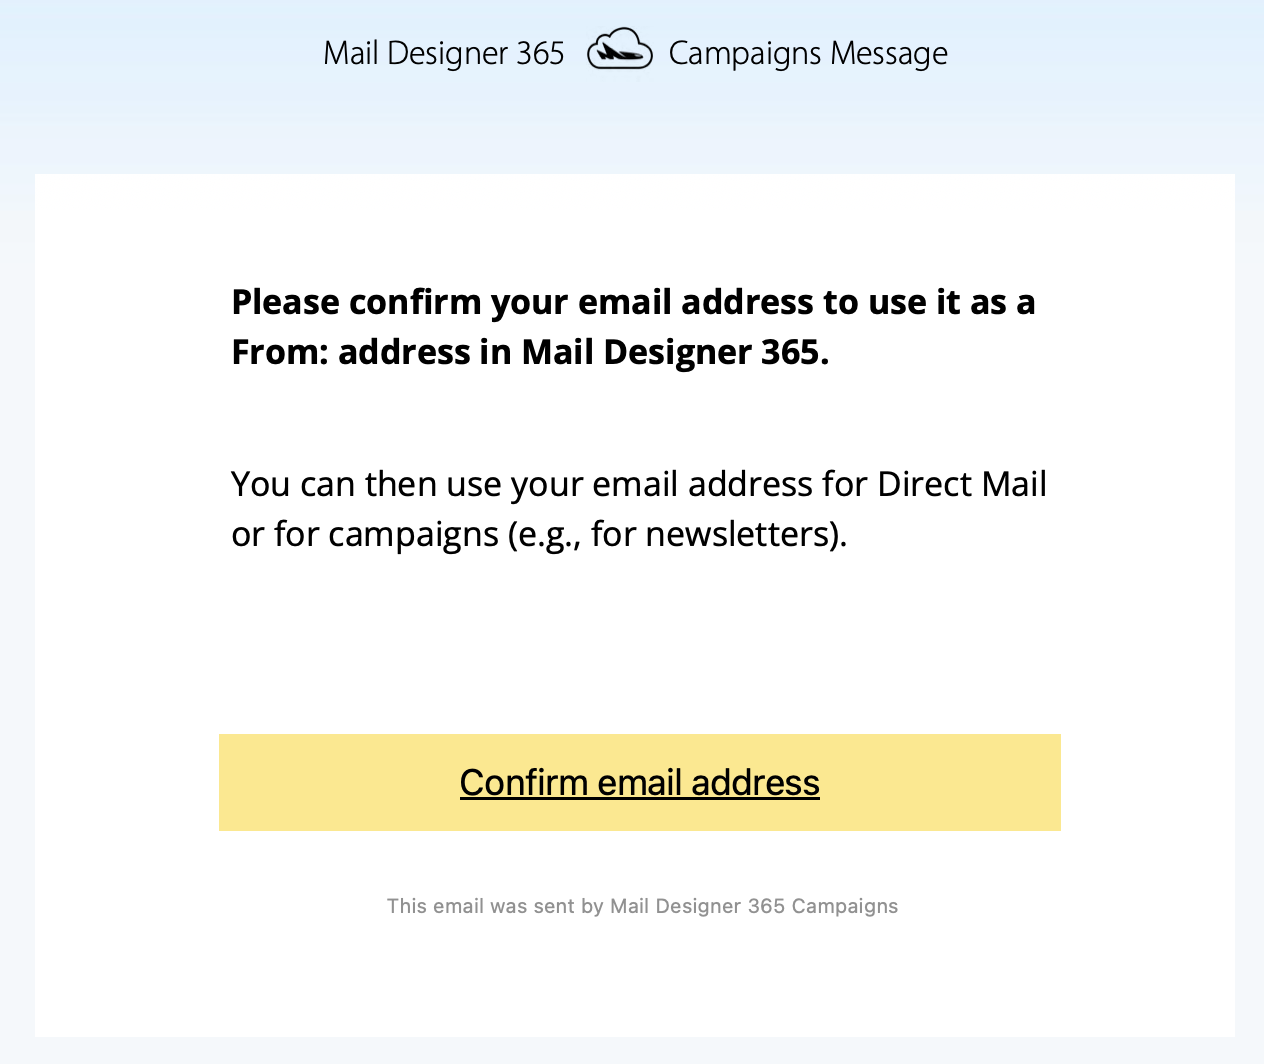
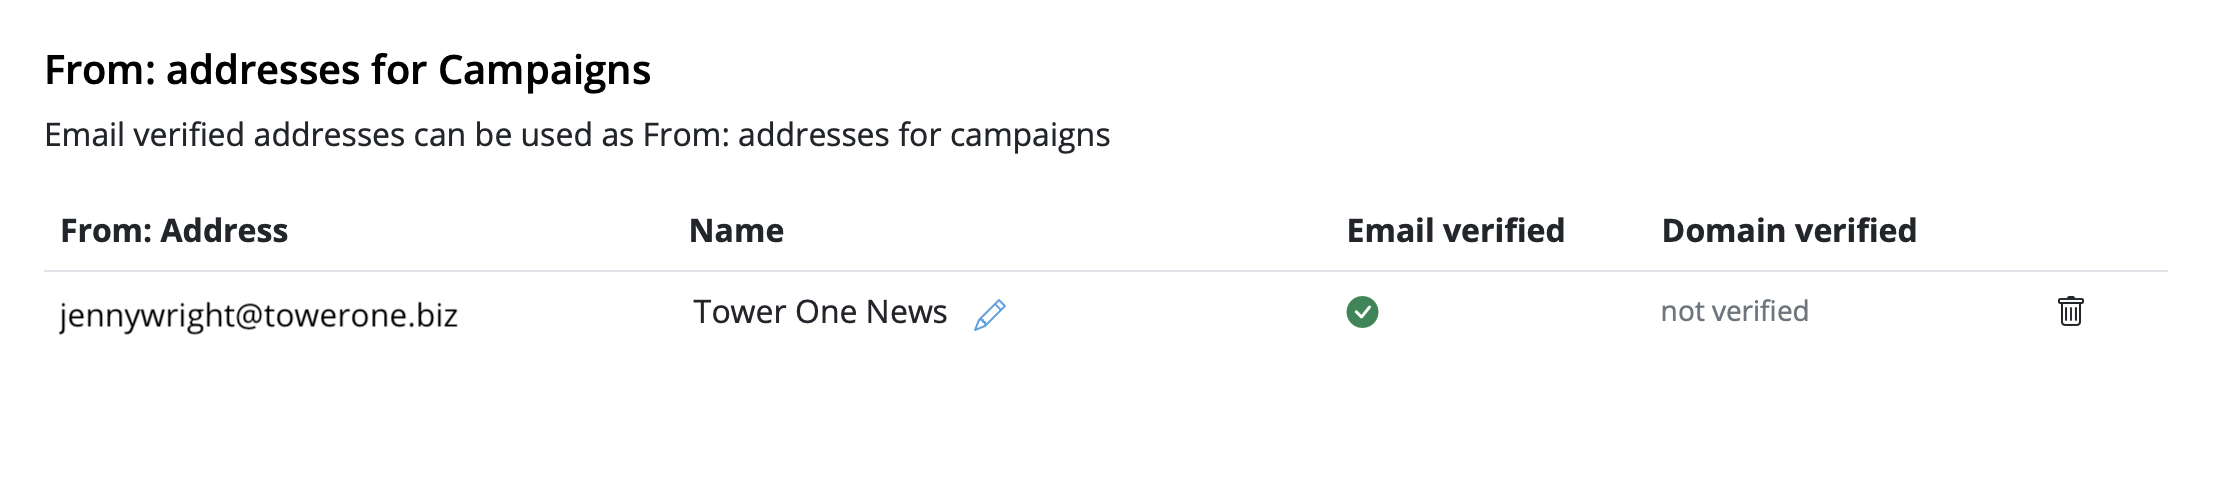
- You'll now receive a verification email. Click the link to confirm you own the email address:
Step 2: To avoid to get marked as spam: Set up DKIM
For this you'll need to create a DNS entry for DKIM (DomainKeys Identified Mail) (more details about DKIM and why it's essential. You should definitely set up DKIM if you want to avoid your mailings ending up in the spam folder.
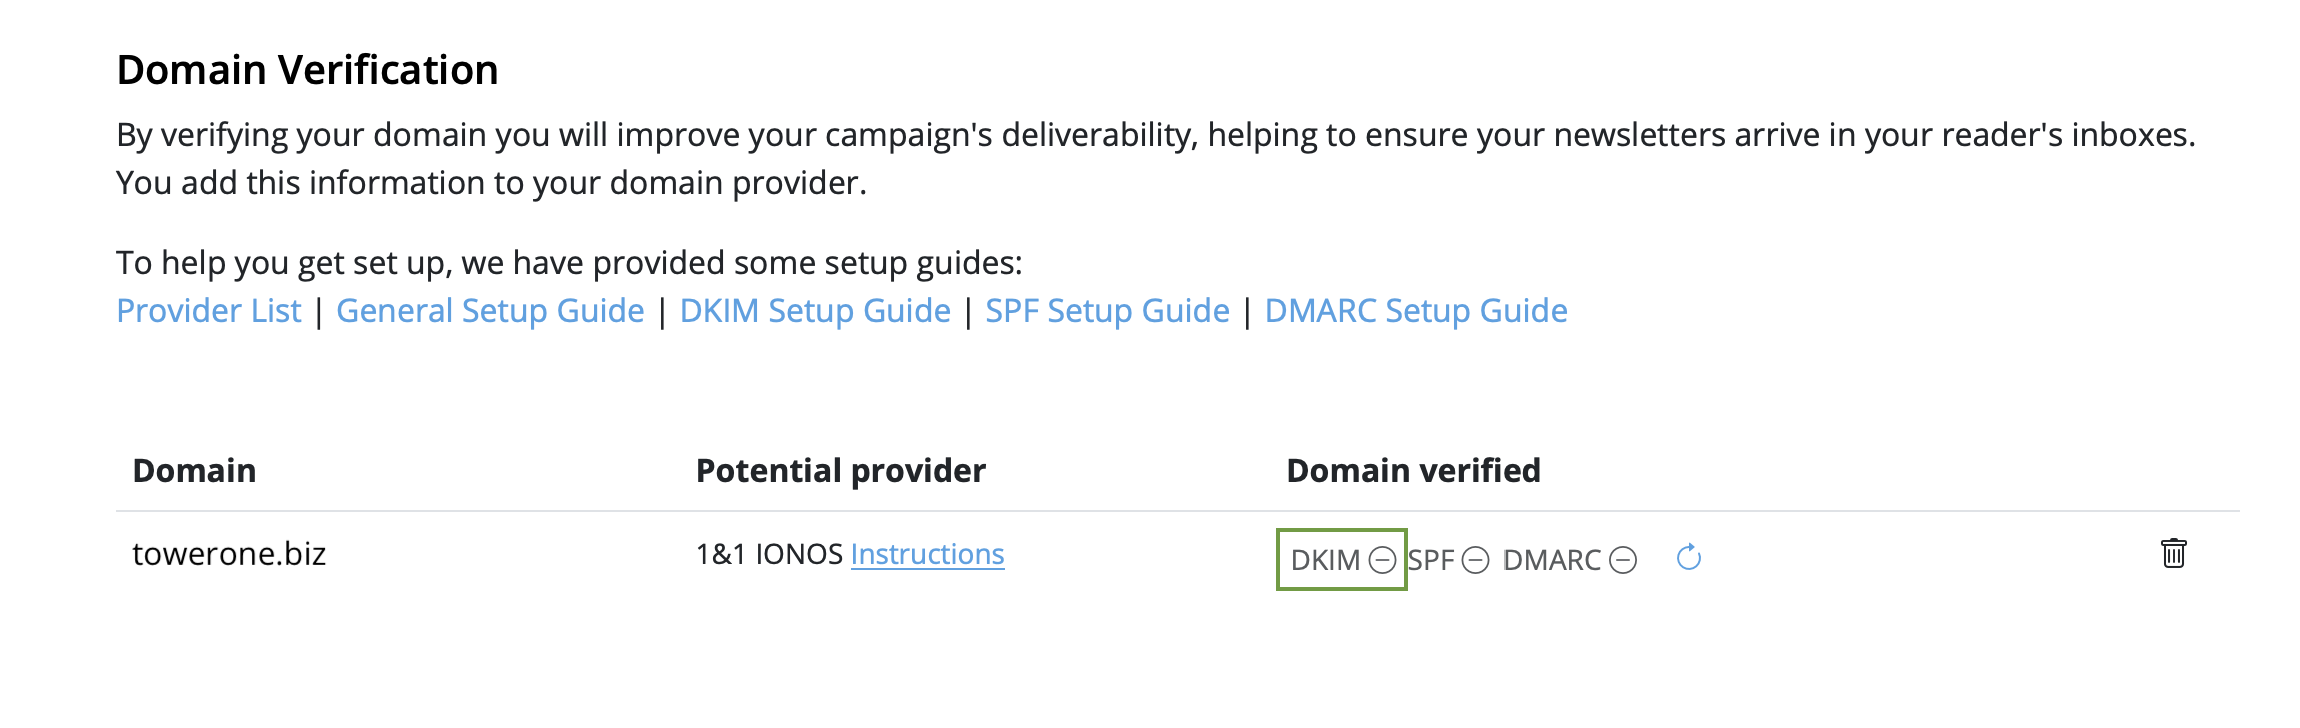
- Stay in "From: addresses" and scroll down to "Domain verification". You will now see the domain for the email address you just set up
- Now it's time to determine the DNS provider for your domain. Most likely, our system has already identified the provider and displayed it as a "Potential Provider," along with a link to the provider's guide. Tip: We've also compiled a list of links to setup guides for common providers in this article.
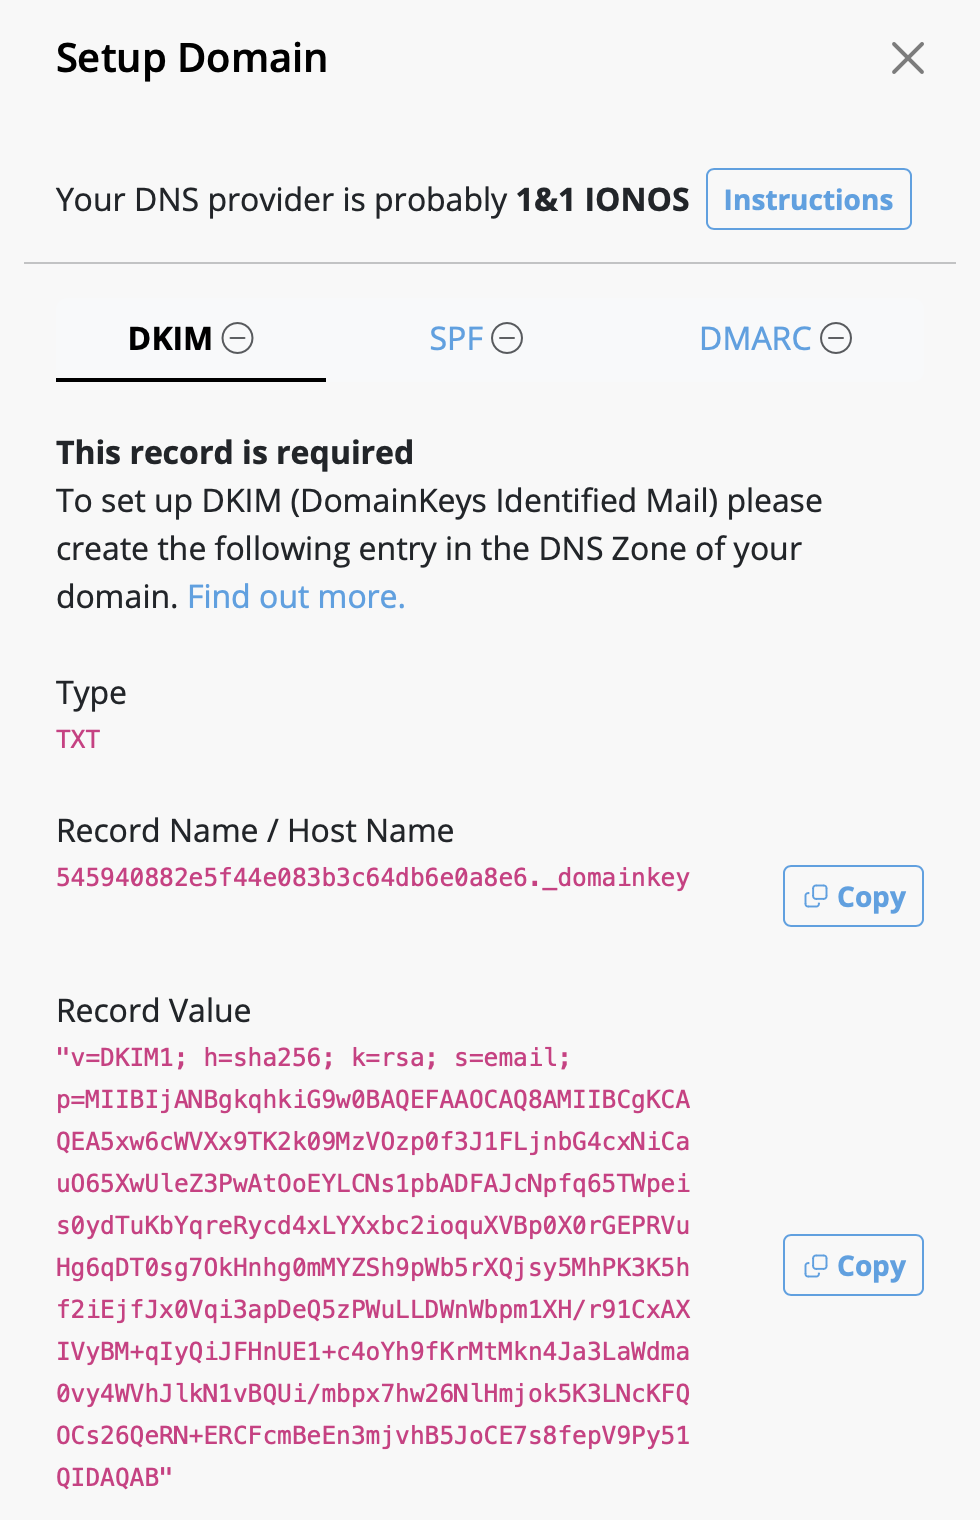
- Click on the "DKIM" icon in the "Domain verified" column:
- A DKIM record will be generated for your domain, along with the necessary type, name, and value of the record. Please use the exact information shown to set up the DNS record (including any special characters such as " or . ).
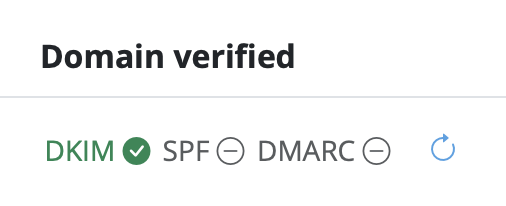
- Depending on your DNS provider, it may take up to 48 hours for the changes to propagate. Delivery Hub will periodically perform automatic checks. Alternatively, click the refresh icon to update results in real time:
- Once you've completed the setup, and the verification is successful, you'll see a green checkmark next to the DKIM icon:

Step 3: To avoid to get marked as spam: Set up SPF
Now, let's ensure your emails are properly authenticated with SPF (Sender Policy Framework), which prevents email spoofing (more details on SPF).
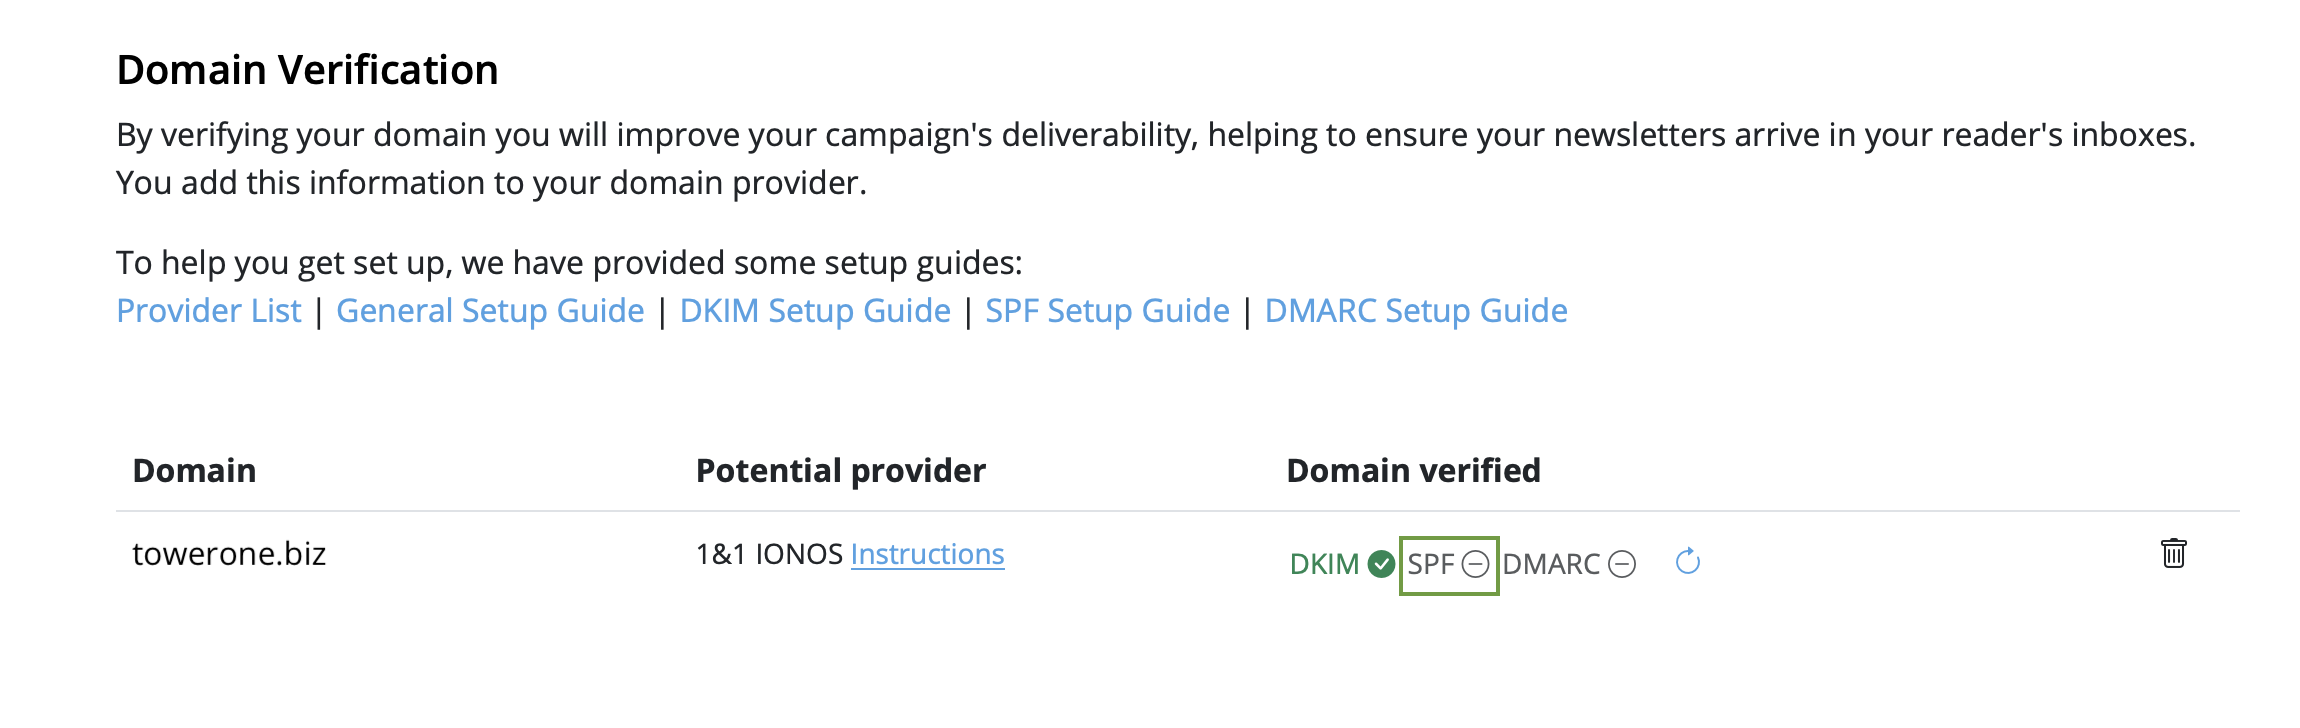
- Go back to your domain under "Domain Verification" and click "SPF":
- Next, go to your DNS provider and create an SPF record for your domain. The exact steps vary depending on your provider, so follow their guidelines.
-
Note: If you or your company have already created an SPF record, our
system will try to include the required part and display the full record
value respecting your previous content. If you feel confident and know what
you are doing, you can also manually edit your existing record and add the
following part:
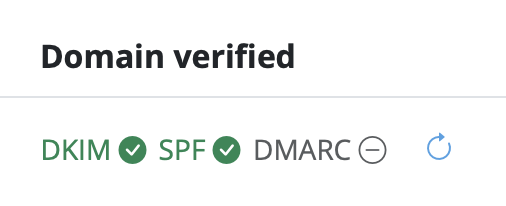
include: spf.welovemails.com. - Once the verification has successfully completed, you'll see a green checkmark next to the SPF icon:
Step 4: Set up DMARC
Although not mandatory, setting up DMARC (Domain-based Message Authentication, Reporting, and Conformance) is recommended to add an extra layer of security to your emails (more details on DMARC).
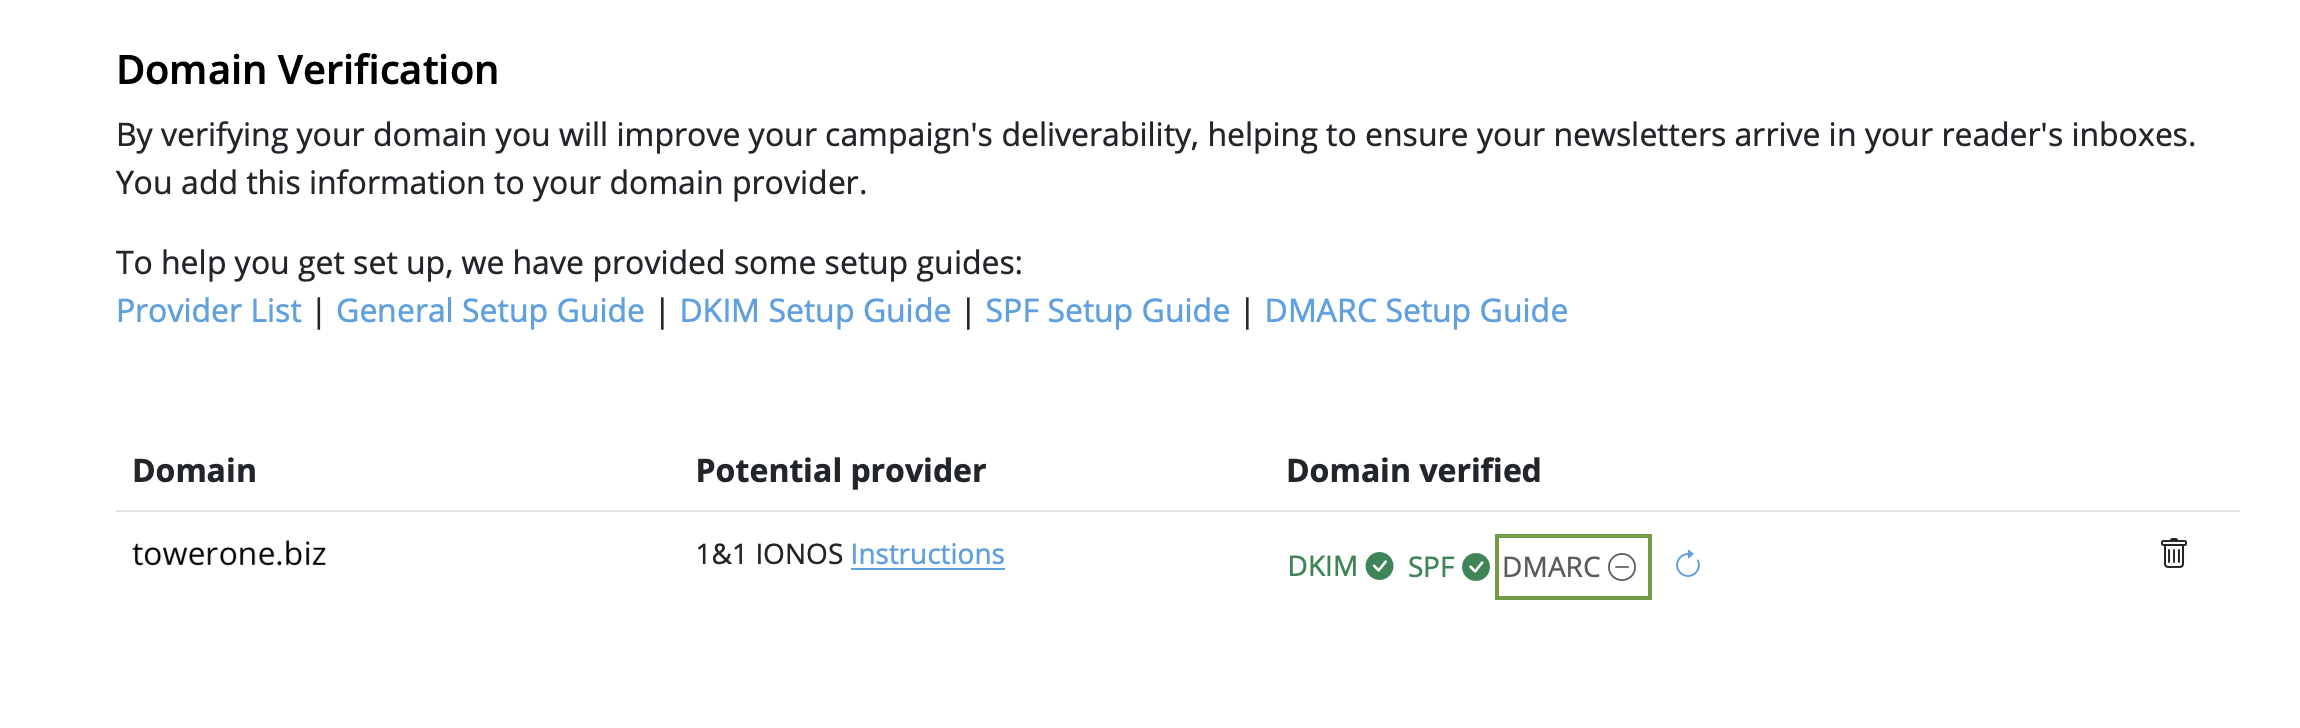
- Click on the "DMARC" icon under "Domain Verification":
- Then, create a DMARC DNS record for your domain
- Feel free to use the suggested record, or your own values. If you're unsure, check your organization's policies or ask your IT team
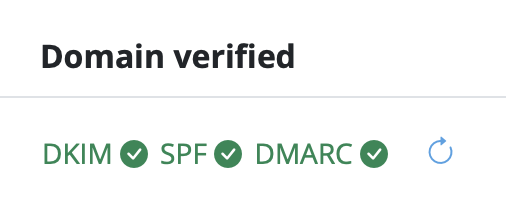
- Just like with SPF and DKIM, once the DMARC verification has successfully completed, you'll see a green checkmark next to the DMARC icon:
Congratulations! You've now set up and verified your from address and can start sending email campaigns to your audience.